Most CloudBank Classroom hubs sign you in through CILogon. You do not create an account for the hub. You use the account your institution already gave you, and CILogon reaches it through your institution’s own sign-in: Google, Microsoft, or an identity provider the institution runs itself.
A small number of hubs sign in with GitHub instead. If yours does, see Hubs that sign in with GitHub below — those hubs need a step the CILogon ones do not.
Signing in
Go to your hub’s address. CILogon asks which identity provider to use. Most hubs offer Google alongside either Microsoft or the institution’s own identity provider, listed under the institution’s name. Choose the one your institution uses. If you check “Remember this selection”, CILogon skips this step next time.
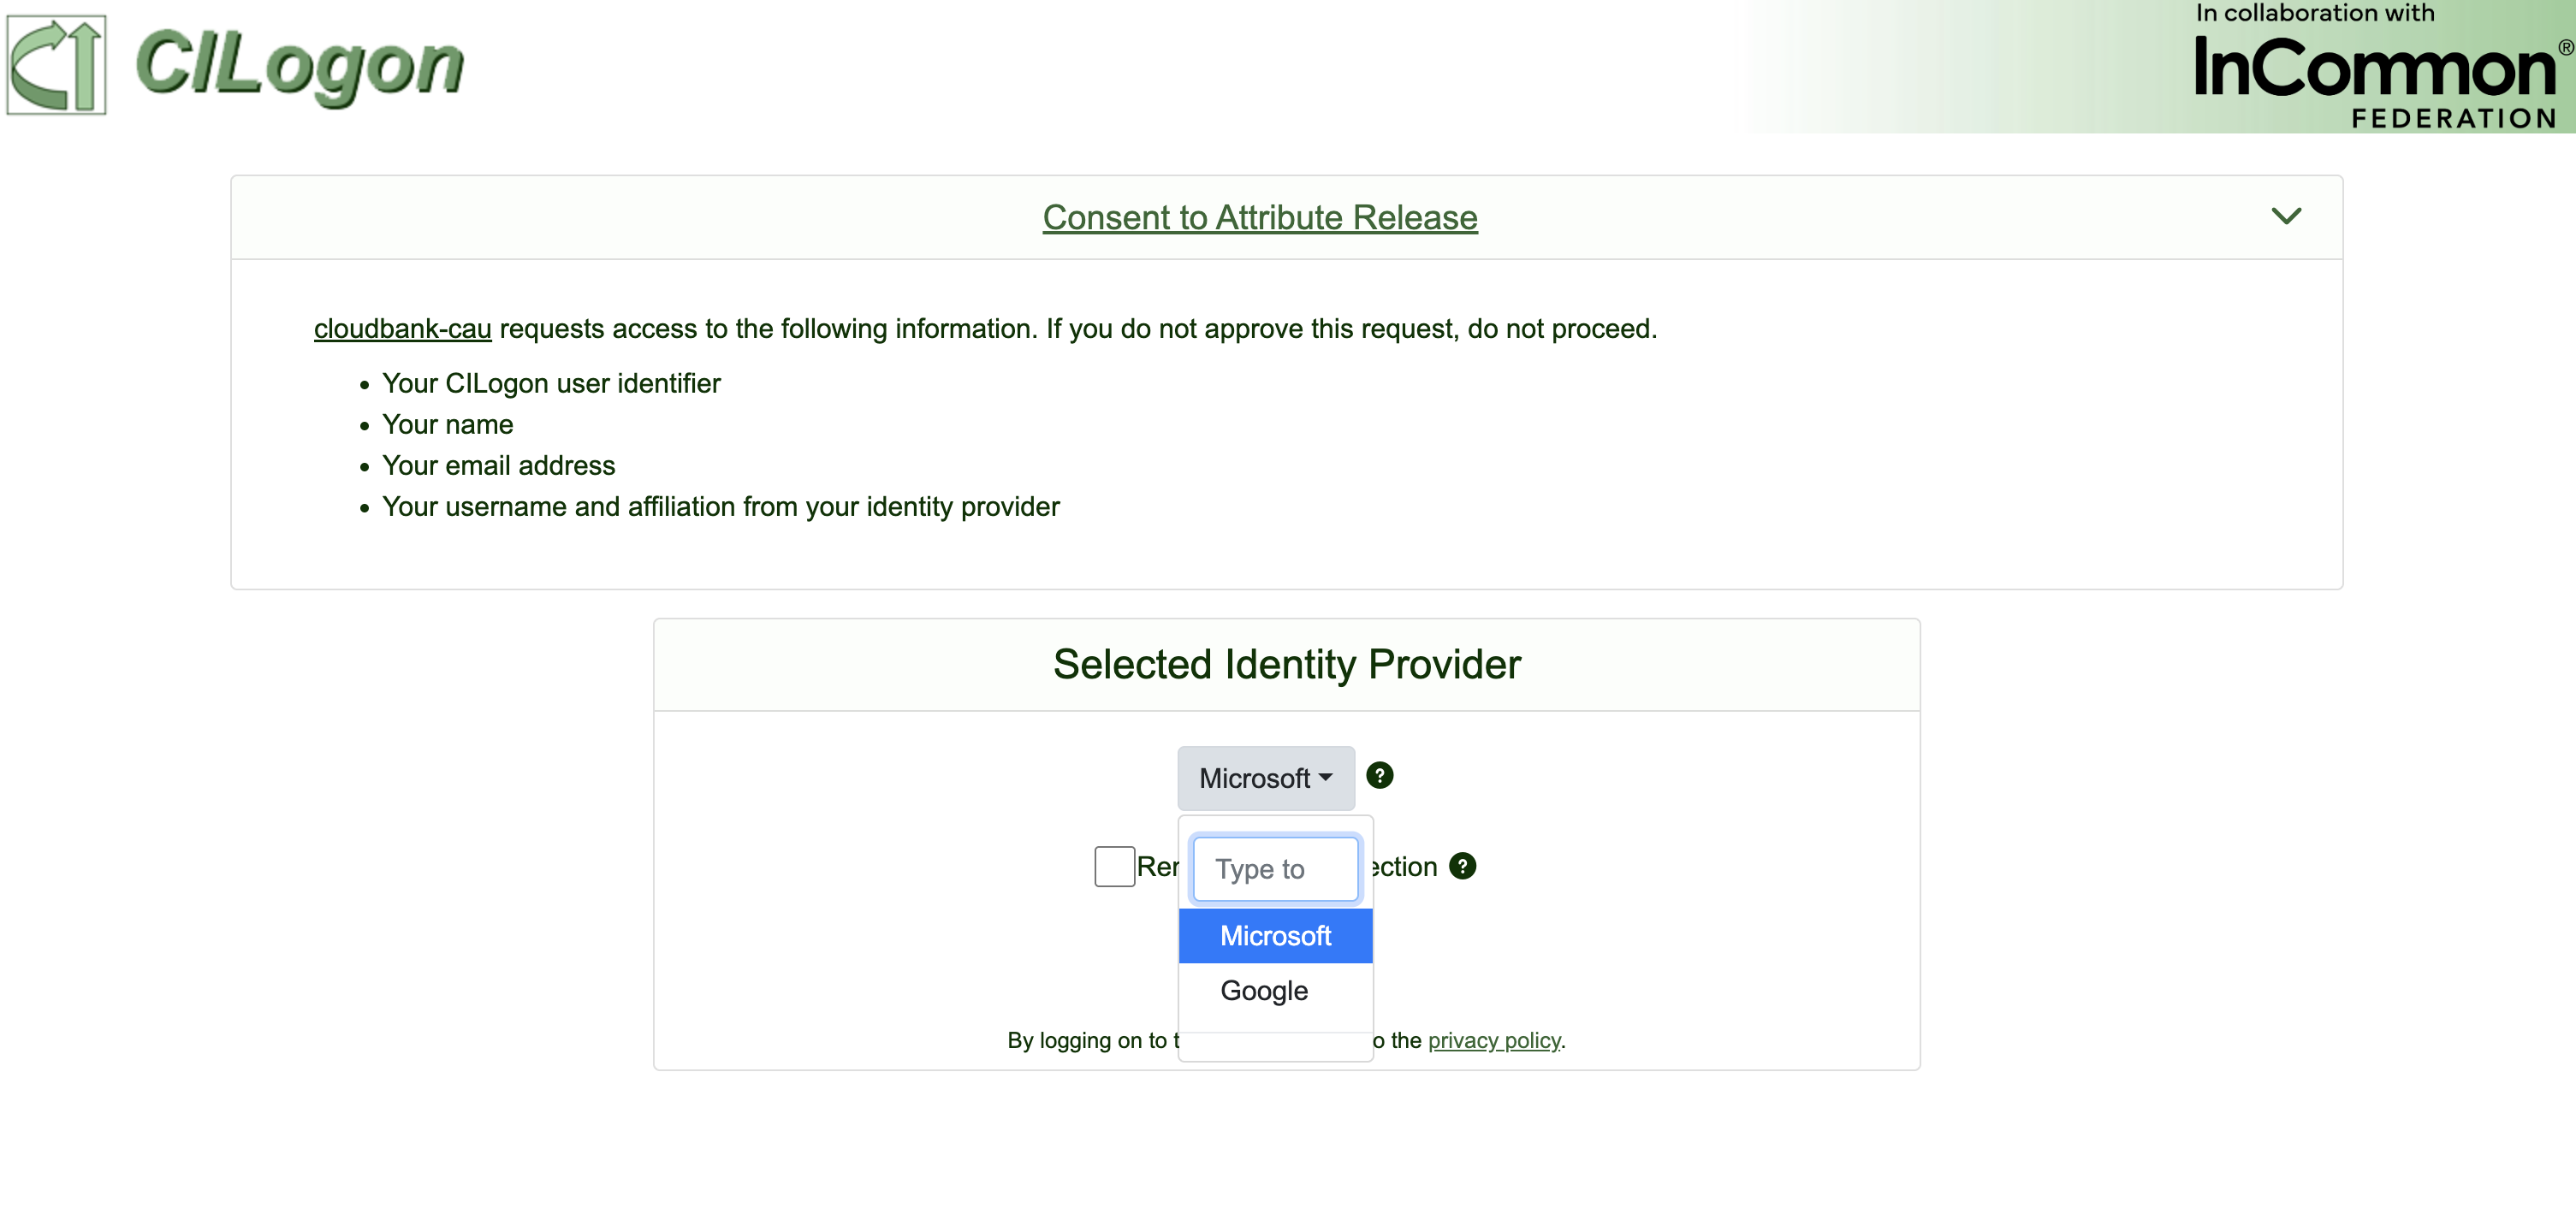
Choosing an identity provider on the CILogon sign-in page.
Use your institutional account
A personal Gmail or Outlook address will not get you into the hub. Sign in with the address your institution issued you.
If your institutional account does not get you in, getting help covers where to ask.
When Microsoft asks for admin approval
Some institutions that sign in through Microsoft see a screen saying “Need admin approval”, with CILogon listed as an unverified application, instead of being signed in.
Nothing is wrong with your account or with the hub. Microsoft requires a tenant administrator to approve CILogon once, for the whole institution. Until that happens nobody at the institution can sign in through Microsoft, and there is nothing an individual student or instructor can do about it from their own account.
“Unverified” is Microsoft’s publisher-verification label. It is not a security finding, and the permissions being requested are listed on the consent screen itself.
For instructors: what to send IT
Forward the text below to whoever manages your Microsoft 365 or Entra tenant, replacing
{Institution}, {hub} and {domain}. It answers the questions IT usually asks, so it should be
all they need.
We are asking you to grant admin consent for CILogon in your Microsoft Entra tenant so faculty and
students at {Institution} can sign in to a JupyterHub used for coursework at
{hub}.cloudbank.2i2c.cloud.

What CILogon is. A federated identity service operated by NCSA at the University of Illinois
Urbana-Champaign under NSF funding, used widely across research and higher education.
Documentation: https://www.cilogon.org/faq

Why it says "unverified." That is Microsoft's publisher-verification label, not a security
finding. The permissions being requested are listed on the consent screen itself.

What it actually does:

- Credentials never leave your environment. Users are redirected to your own Microsoft login page
  and authenticate there. Nothing is typed into the hub.
- Your MFA still applies, because your tenant is performing the authentication.
- The only attribute we receive is the email address. It is used as the username, and nothing else
  is read, stored, or transferred.
- No accounts are provisioned on our side. There is no user list to maintain - if an account is
  disabled at the college, that person can no longer sign in.
- Access is limited to @{domain}. Any other domain is rejected by the hub regardless of what Entra
  allows.

To approve: an Entra admin can use the "Have an admin account? Sign in with that account" link on
the screen the user hit, or grant consent for CILogon under Enterprise applications in the Entra
admin center.
Once consent is granted, sign-in goes through normally for everyone at the institution. It is a one-time approval, not something each person repeats.
If IT comes back with questions this does not cover, getting help covers where to ask.
Hubs that sign in with GitHub
Most hubs do not use this. Of the hubs running today, 14 sign in with GitHub and the rest use CILogon or Google. You can tell which one you have by opening your hub: a CILogon hub shows the identity-provider chooser pictured above, and a GitHub hub sends you to github.com instead.
On a GitHub hub, access is controlled by membership of a GitHub organization. Being enrolled in the course is not enough on its own — someone has to add each person to the organization before they can log in.
For students
You need a GitHub account, and you need to be a member of the course’s organization.
Your instructor sends you an invitation. GitHub emails it to you, and it also appears at
https://github.com/orgs/<organization>/invitation.Accept the invitation. This is the step people miss. Until you accept, you are not a member, and the hub turns you away exactly as though you had never been invited.
Go to your hub and sign in with GitHub. The first time, GitHub asks you to authorize the hub’s application.
Your membership can stay private — the hub asks GitHub only whether you are a member, so you do not need to show your membership publicly.
For instructors: adding someone to the organization
Go to
https://github.com/orgs/<your-organization>/people.Select Invite member.
Enter their GitHub username, or the email address attached to their GitHub account.
Leave the role as Member. Owner is not needed, and grants far more than hub access.
Send the invitation, then tell them to go and accept it.
Two things worth knowing on a GitHub hub. Usernames come from GitHub, not from your institutional email, so a student who renames their GitHub account arrives as a new user with an empty home directory. And removing someone from the organization removes their access to the hub at their next sign-in, though their files stay where they are.