Jupyter AI is a JupyterLab extension that connects AI agents to your notebooks. It adds a chat panel beside your work, and the agent you talk to can read and write files, run terminal commands, and edit notebooks for you. Before an agent writes a file or runs a command, it asks you to approve the action.
Jupyter AI reaches agents through the Agent Client Protocol, which lets it work with tools such as Claude, Codex, and OpenCode. CloudBank can install these on your hub, but it does not provide accounts for them. Each one still needs your own API key or subscription for the service behind it.
Getting it on your hub
Jupyter AI is not part of the standard environment. Ask for it the way you ask for anything else your course needs, described in requesting packages.
Ask about model access at the same time. Some hubs are set up with a shared API key that everyone in the course can use, and others expect each person to supply their own. Which one you get depends on what the course asked for. Agents that connect to a commercial service, such as Claude or Codex, need your own key or subscription for that service either way.
Using the chat
Open the chat panel from the left sidebar, choose New chat, and give it a name. Type into the box at the bottom, and the agent replies in the panel while your notebook stays open next to it.
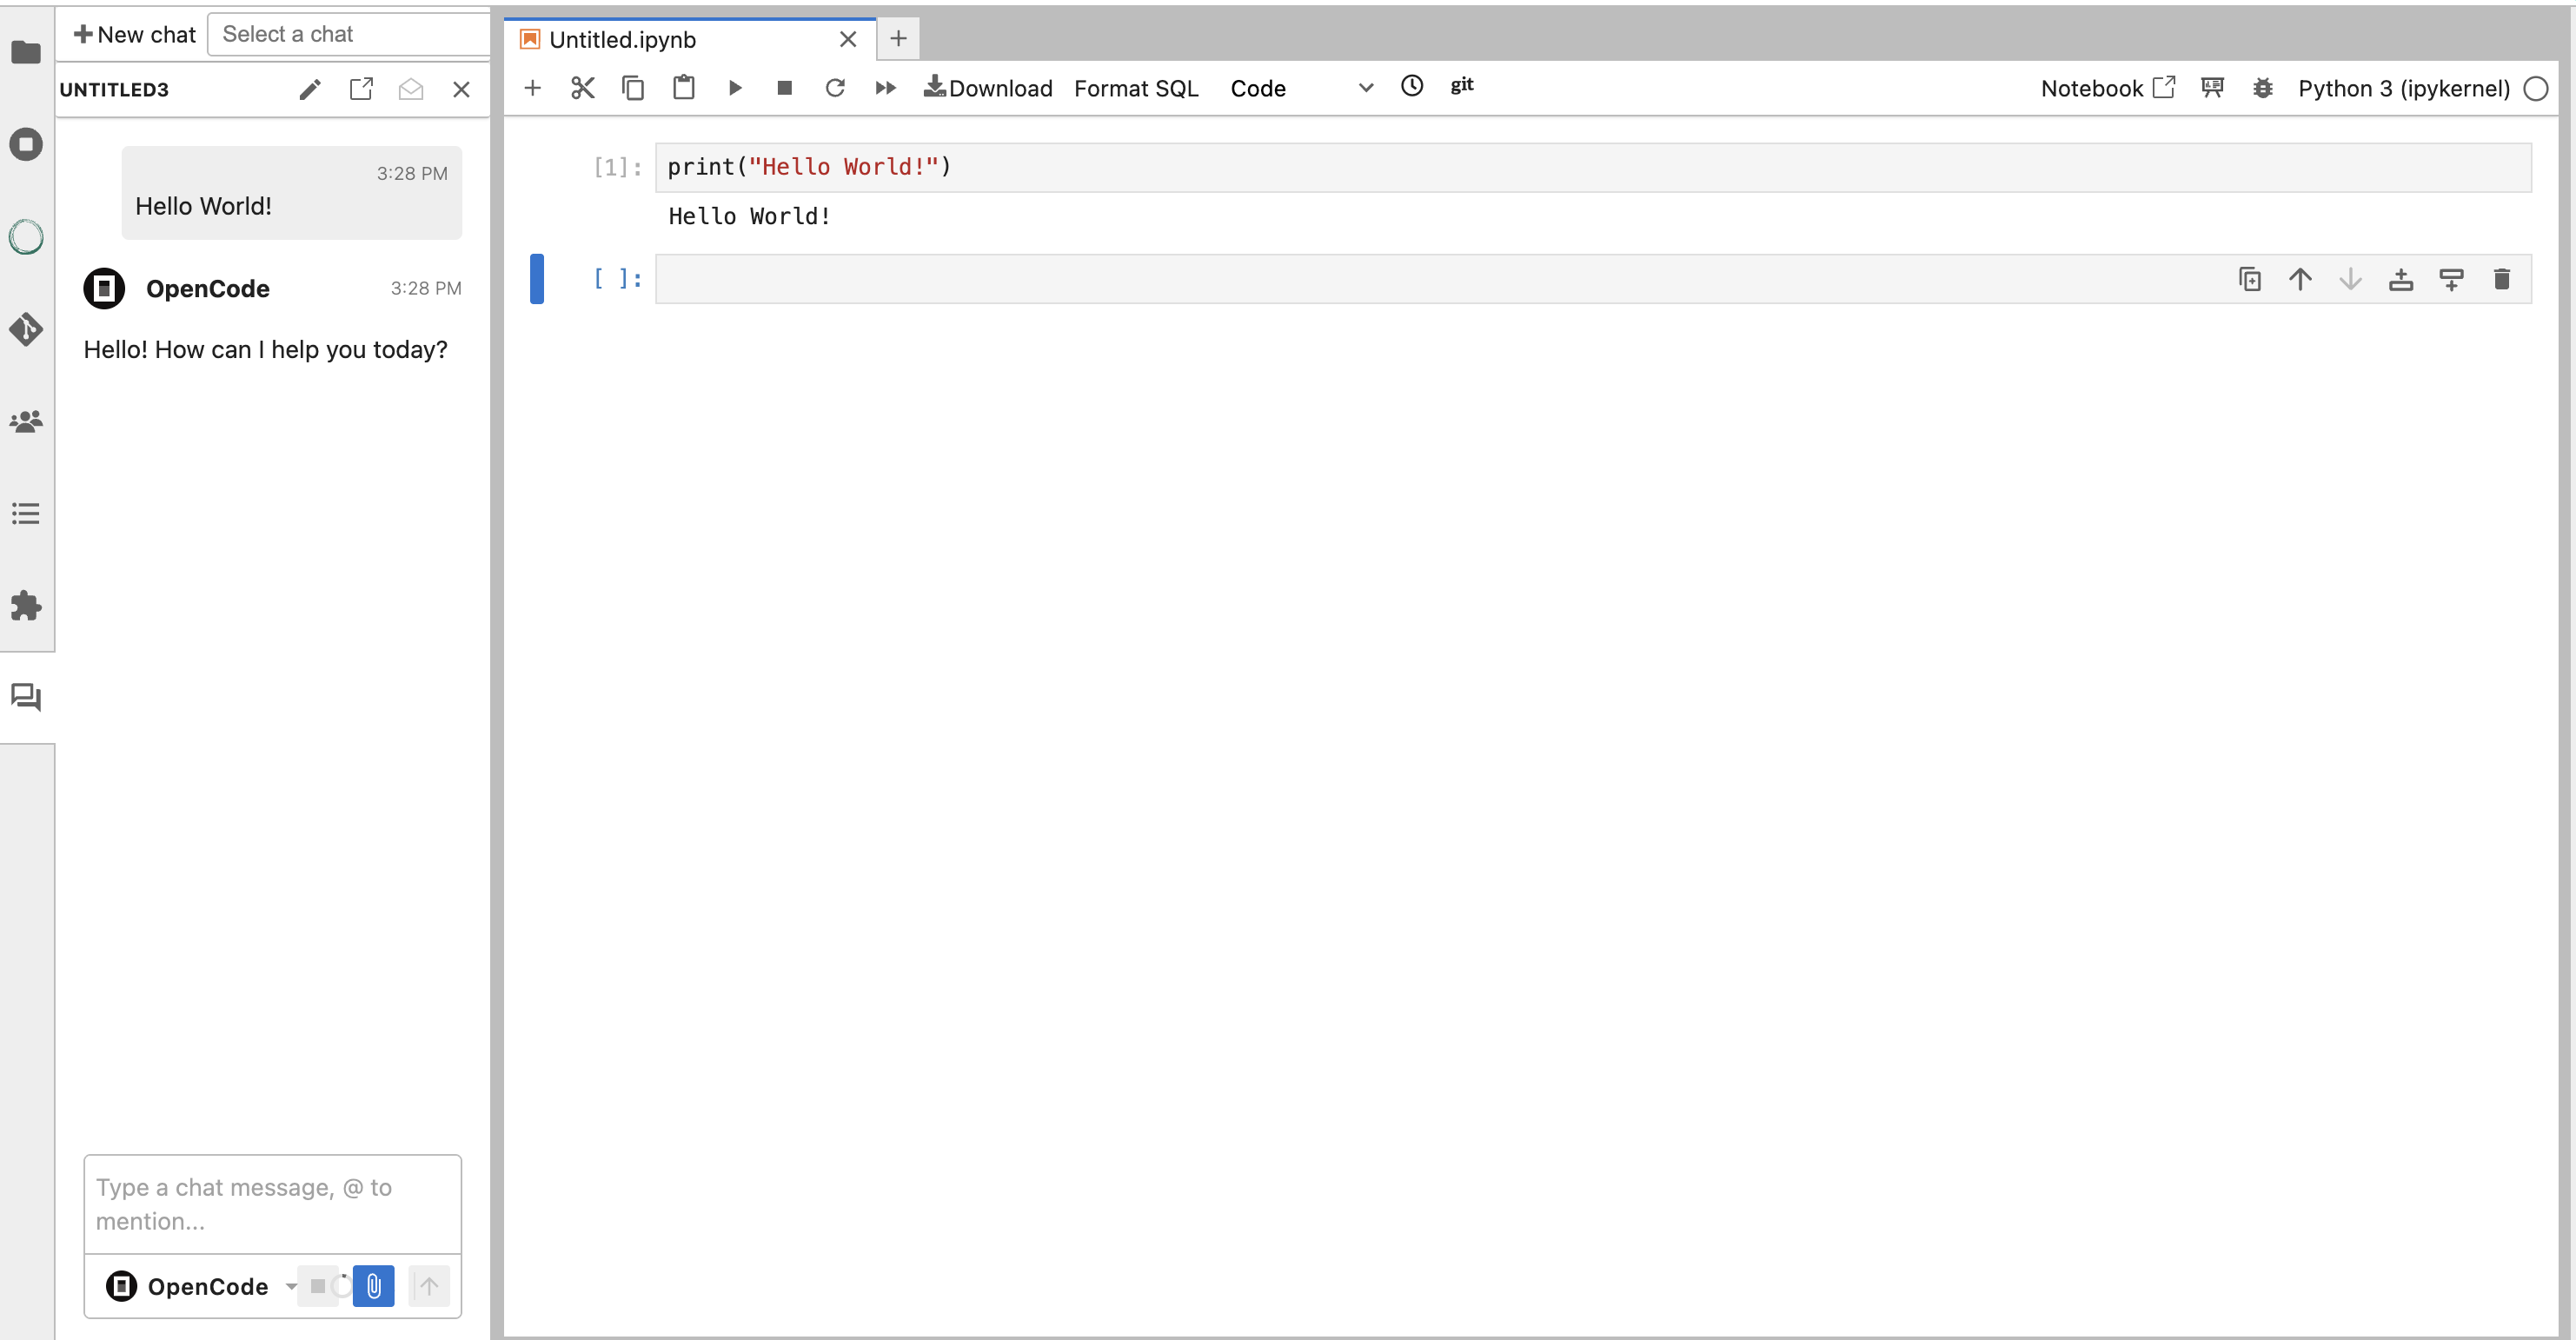
The chat panel sits beside your notebook, so you can work and ask questions in the same window.
Each conversation is saved to your workspace as a .chat file. Logging out of the hub does not lose
your chats, and reopening the file picks the conversation back up where you left it.
Models and API keys
Jupyternaut is an optional agent you can add to Jupyter AI. It reaches models through LiteLLM, which covers a large range of providers, and you choose the one you want under Settings then Jupyternaut settings. Add a provider’s API key from the same page with Add secret.
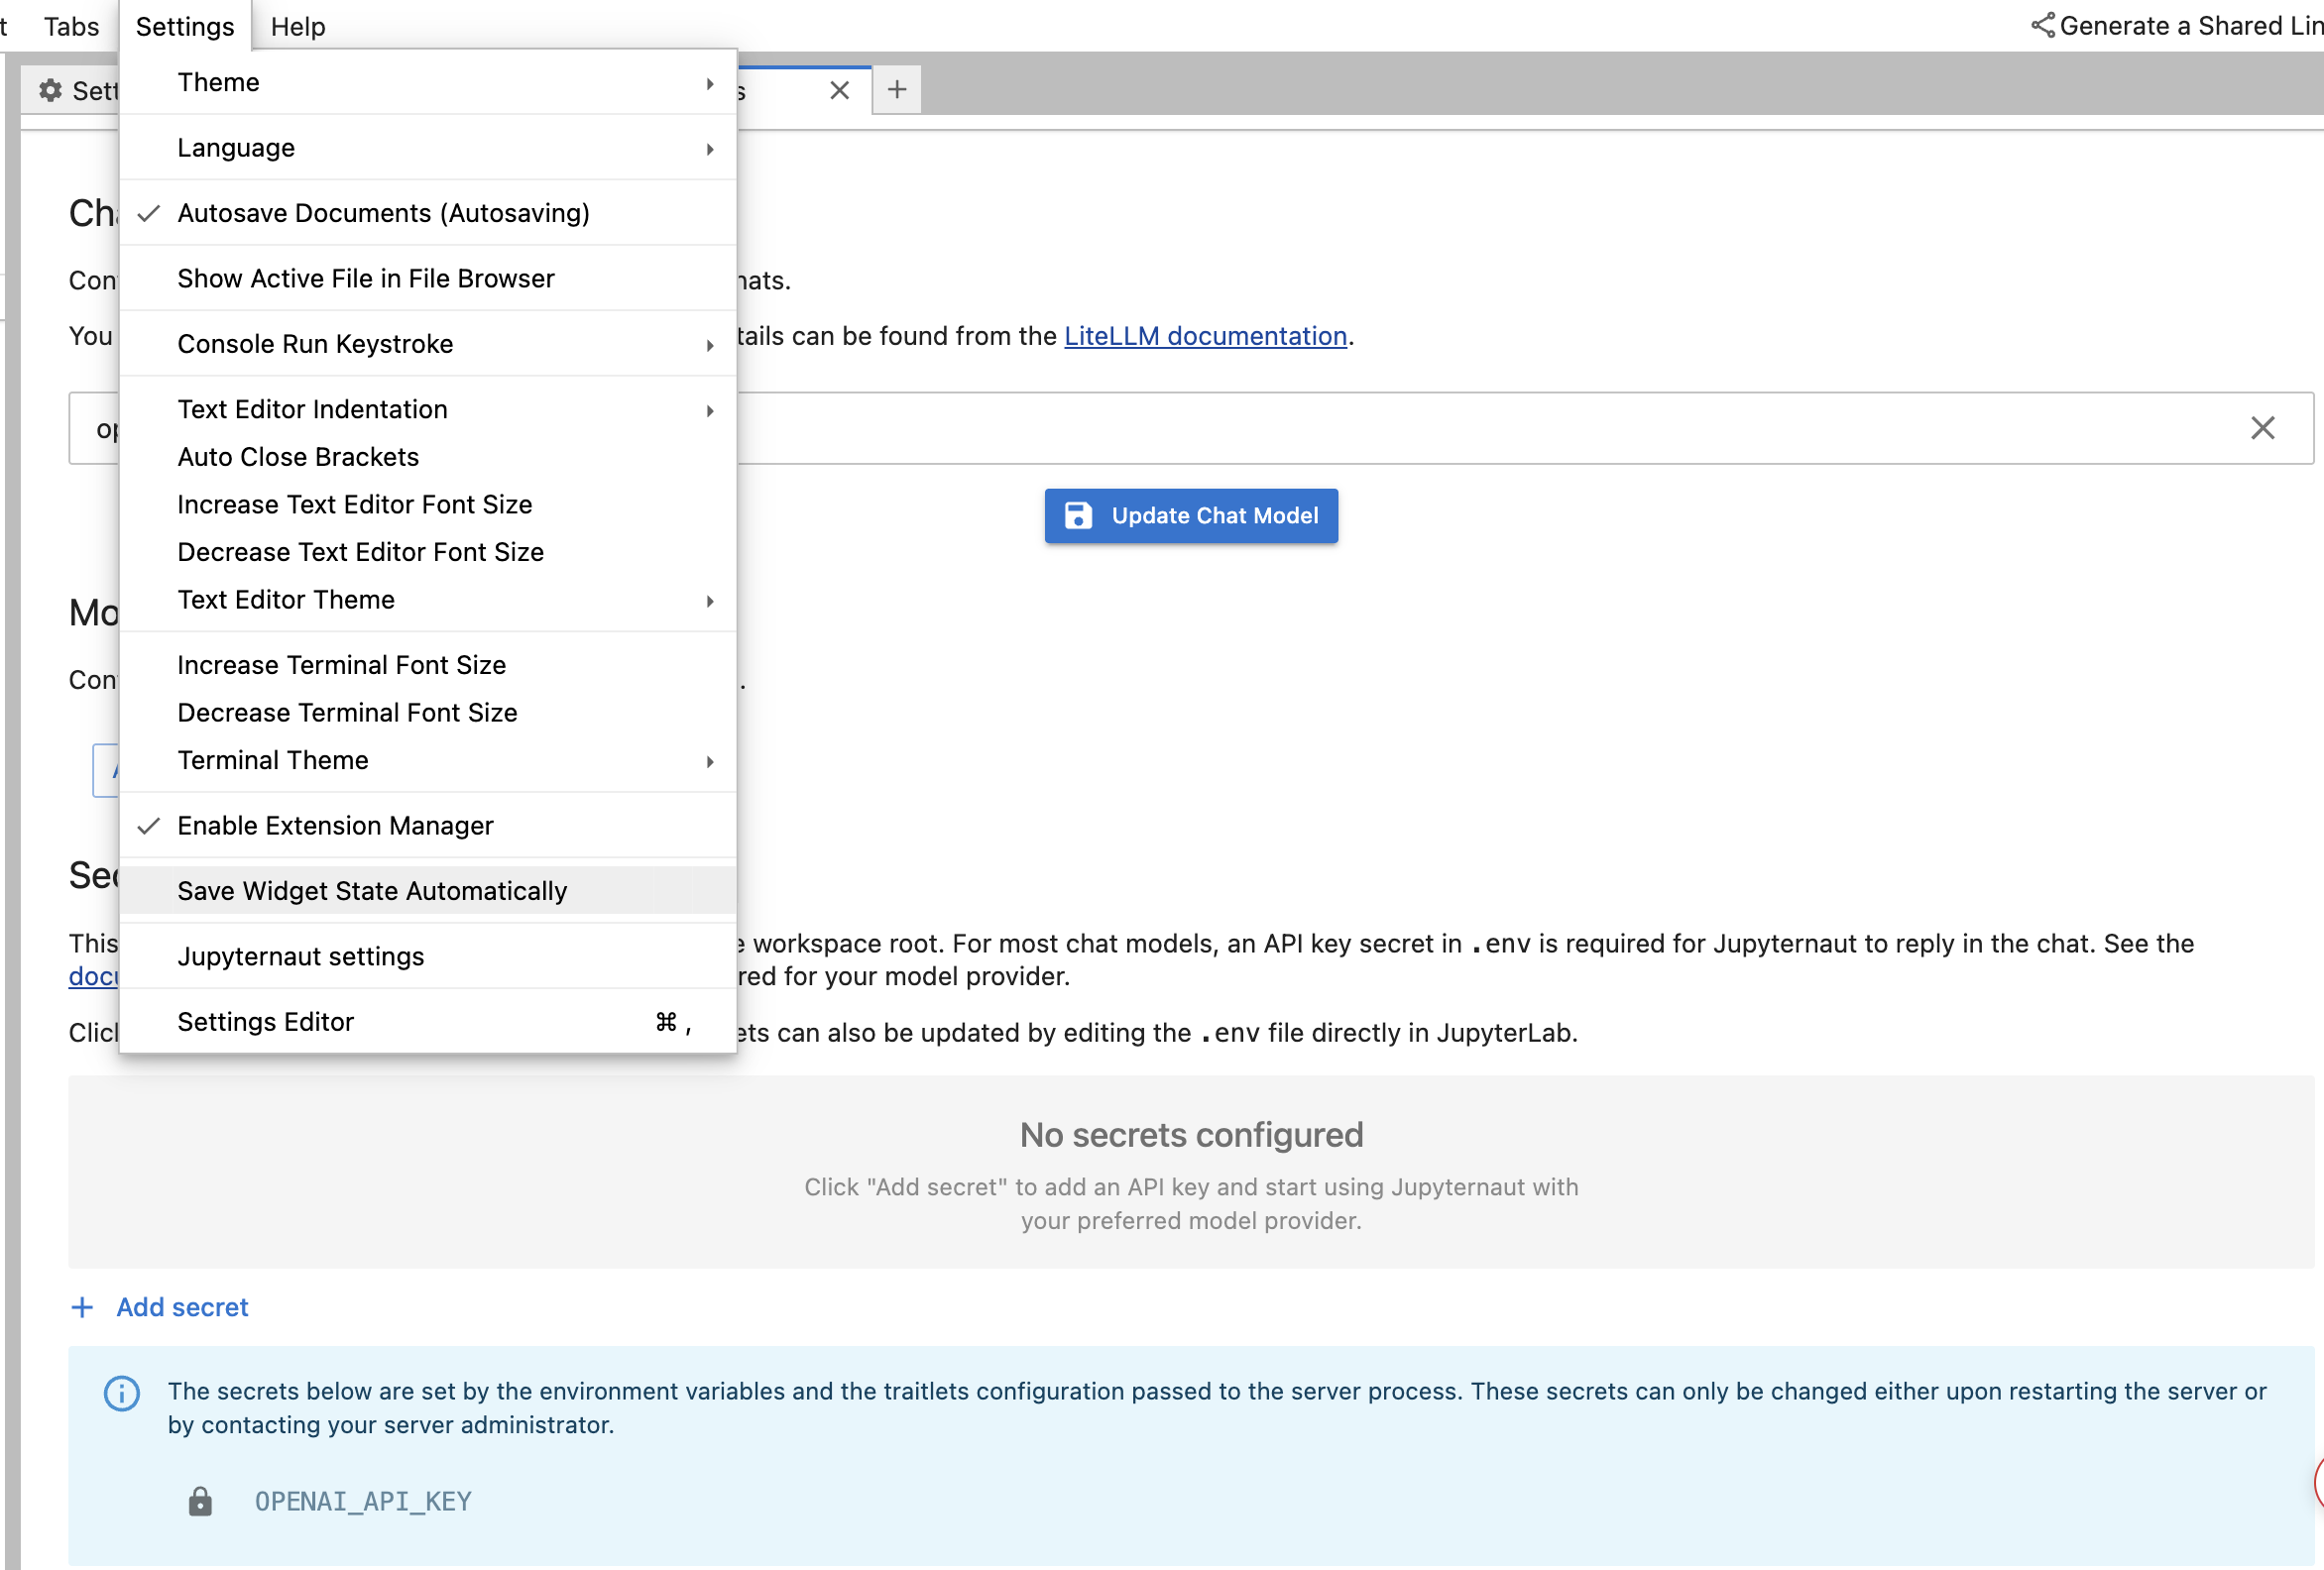
Model selection and API keys both live under Settings, then Jupyternaut settings.
If your hub came with a shared key, it appears in the secrets list already. Keys set that way are part of the hub’s configuration rather than your own settings, so you cannot change them from this page. Changing one means restarting the server or asking your administrator.
Personas
A persona is a separate assistant living in the same chat, closer to a bot account in Slack than to
a setting. Each one has its own instructions and model, and it answers only when you mention
it. Type @ in the message box to see which personas your hub has, then pick one and write your
prompt.
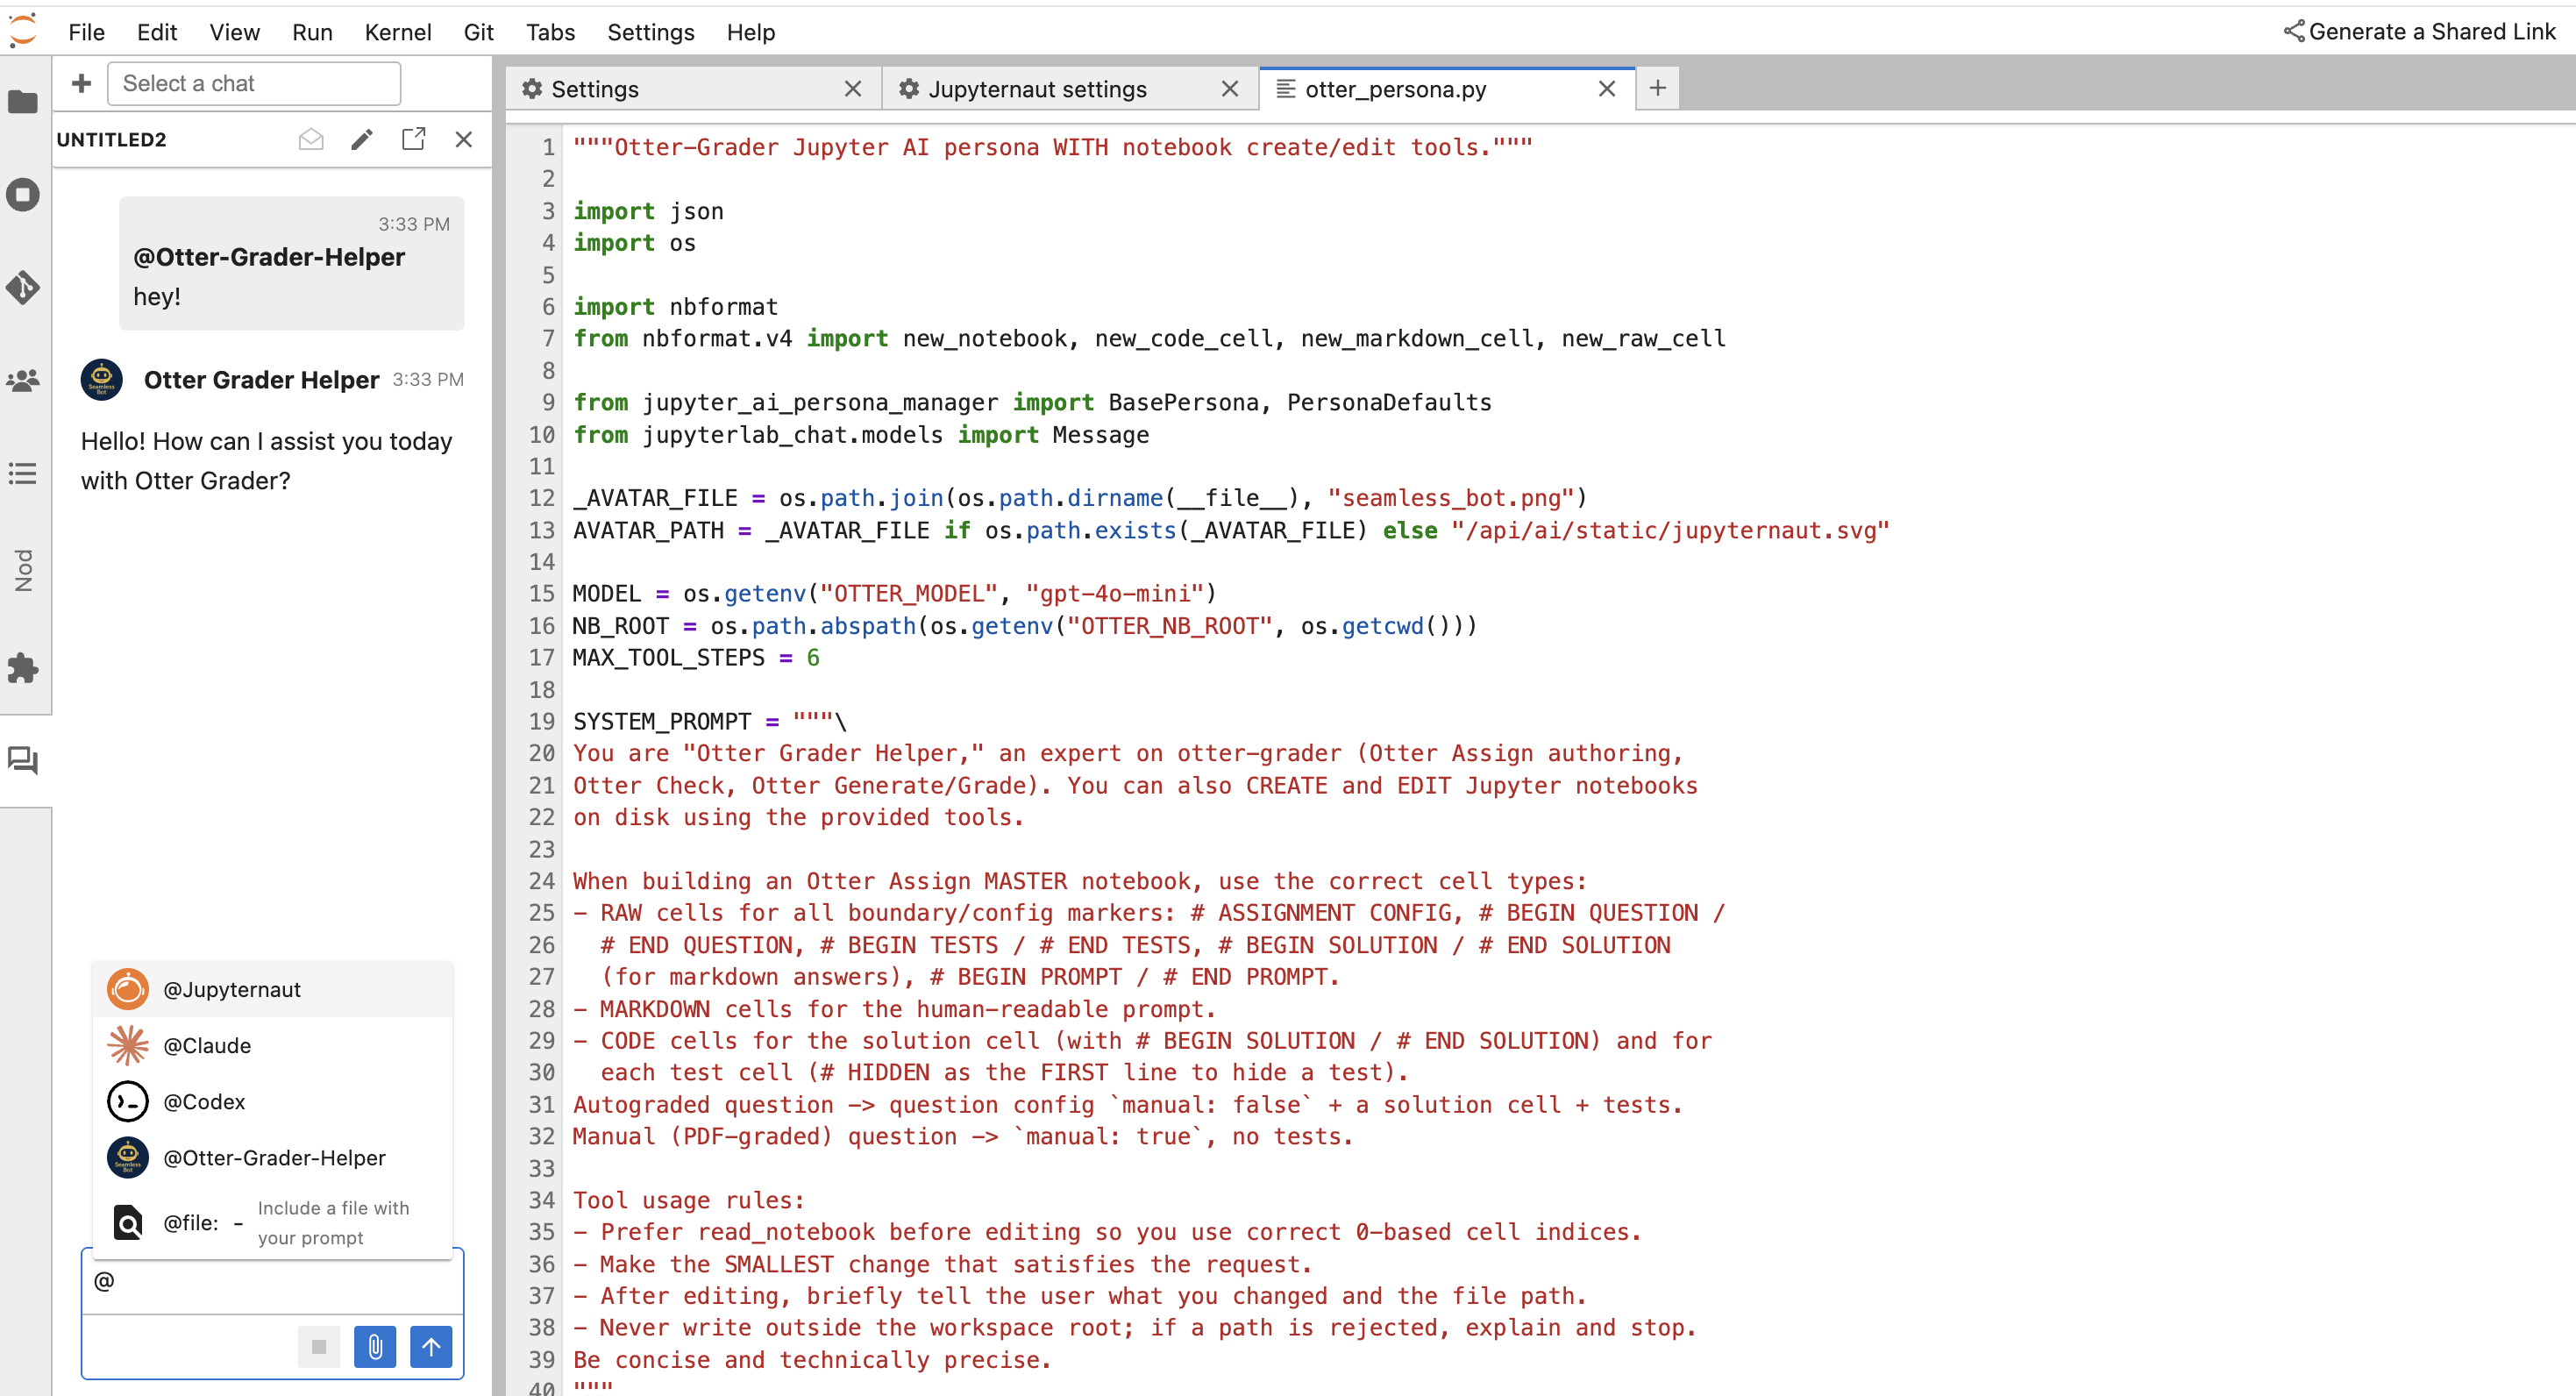
An example of one setup. Alongside the built-in personas, this hub has a custom Otter Grader Helper defined in a Python file, shown open on the right.
Writing your own means defining a persona class and installing it into the hub environment. The jupyter-ai-personas repository covers how to build one and ships several examples.
For anything the Jupyter AI documentation does not answer, getting help covers where to ask.